 With EmbedPress, you can embed PhotoBucket Images to WordPress, using just a URL.
PhotoBucket embeds are possible, but they’re not easy to use via normal methods. EmbedPress is different. With EmbedPress, you don’t have to mess around with embed code. All you need is the PhotoBucket Image URL.
Here’s how to embed PhotoBucket Image into your WordPress site, using the EmbedPress plugin.
Step #1. Install the EmbedPress plugin #
EmbedPress is a very helpful plugin that expands and improves on WordPress’ capabilities. Install EmbedPress and your WordPress site will become far more powerful. Click here to find EmbedPress on WordPress.org.
Step #2. Set Up Your PhotoBucket Account #
- Login/Register to Photobucket.com (optional)

- Click Browse menu on top left
- Click appropriate category as per your requirement or instead use search option for custom image search

- Once on Album page, click any Image you want to embed.

- On single image view page, copy the direct image URL from right sidebar
Step #3. Embed PhotoBucket Images & Publish #
Now you have the PhotoBucket Image URL, you can add it to WordPress.
- Go to your WordPress site.
- Edit a post or page.
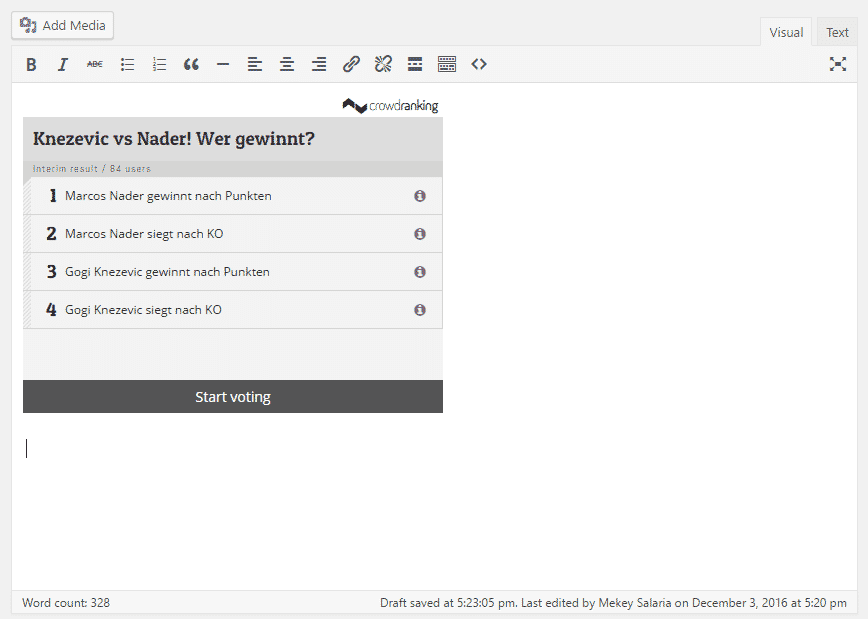
- Add your PhotoBucket URL into the content area, with the “Visual” tab enabled.
- You will see a purple background with a “Loading your embed …” message:

- Your URL will automatically be transformed into an embed of your PhotoBucket Image.
Step #4. Edit your PhotoBucket Embeds #
While editing your WordPress content, you can also edit your embed, thanks to EmbedPress.
- Hover over the embed, and a purple button will appear.
- Click the pencil and a pop-up screen will appear with more options.

- You can now change the embed URL, plus you can also control the maximum width and height of the embed.


