Are you looking for the easiest approach to connecting your Custom Facebook feed to WordPress?
We created this post specifically for you. Cross-promoting your Facebook content with your website is a terrific approach to attract a bigger audience in order to sustain your Facebook page and expand your company over time.
Even if you’re not tech-savvy, you can simply show your custom Facebook feed after reading this article!

Why Embed A Custom Facebook Feed On Your WordPress Site?
Facebook is the world’s largest social networking platform, with about 3 billion monthly active users. You may already have a Facebook page or group where you interact with your audience as a website owner.
People who merely visit your website, on the other hand, will not see your Facebook updates. You can show people what’s going on in your group or page by creating a personalized Facebook feed. This may make your website more intriguing and fascinating, especially if you add multimedia material like movies and images on Facebook.

How To Embed Facebook Posts In WordPress?
EmbedPress allows you to insert Facebook posts into WordPress with simply a URL. EmbedPress removes the requirement to mess with embed code. You only need the Facebook Post URL.
Here’s how to use the EmbedPress plugin to embed Facebook posts into your WordPress site.
To work with Embedding Facebook posts, first, you will need to install the plugin. You can add the Facebook post URL to WordPress once you have it. First, open your WordPress Gutenberg Editor and choose the required pages or posts.

Now In the top-left corner of the editing panel, click the ‘+‘ icon. Look for the ‘EmbedPress‘ section and put the copied Facebook post URL there.

When you click the “Embed” button, your Facebook posts will appear in your editor in a matter of seconds.

EmbedPress also allows you to embed Facebook posts in Elementor editor and Classic editor as well. Follow this in-depth documentation for more.
Create & Style A Custom Facebook Feed In WordPress With Essential Addons For Elementor
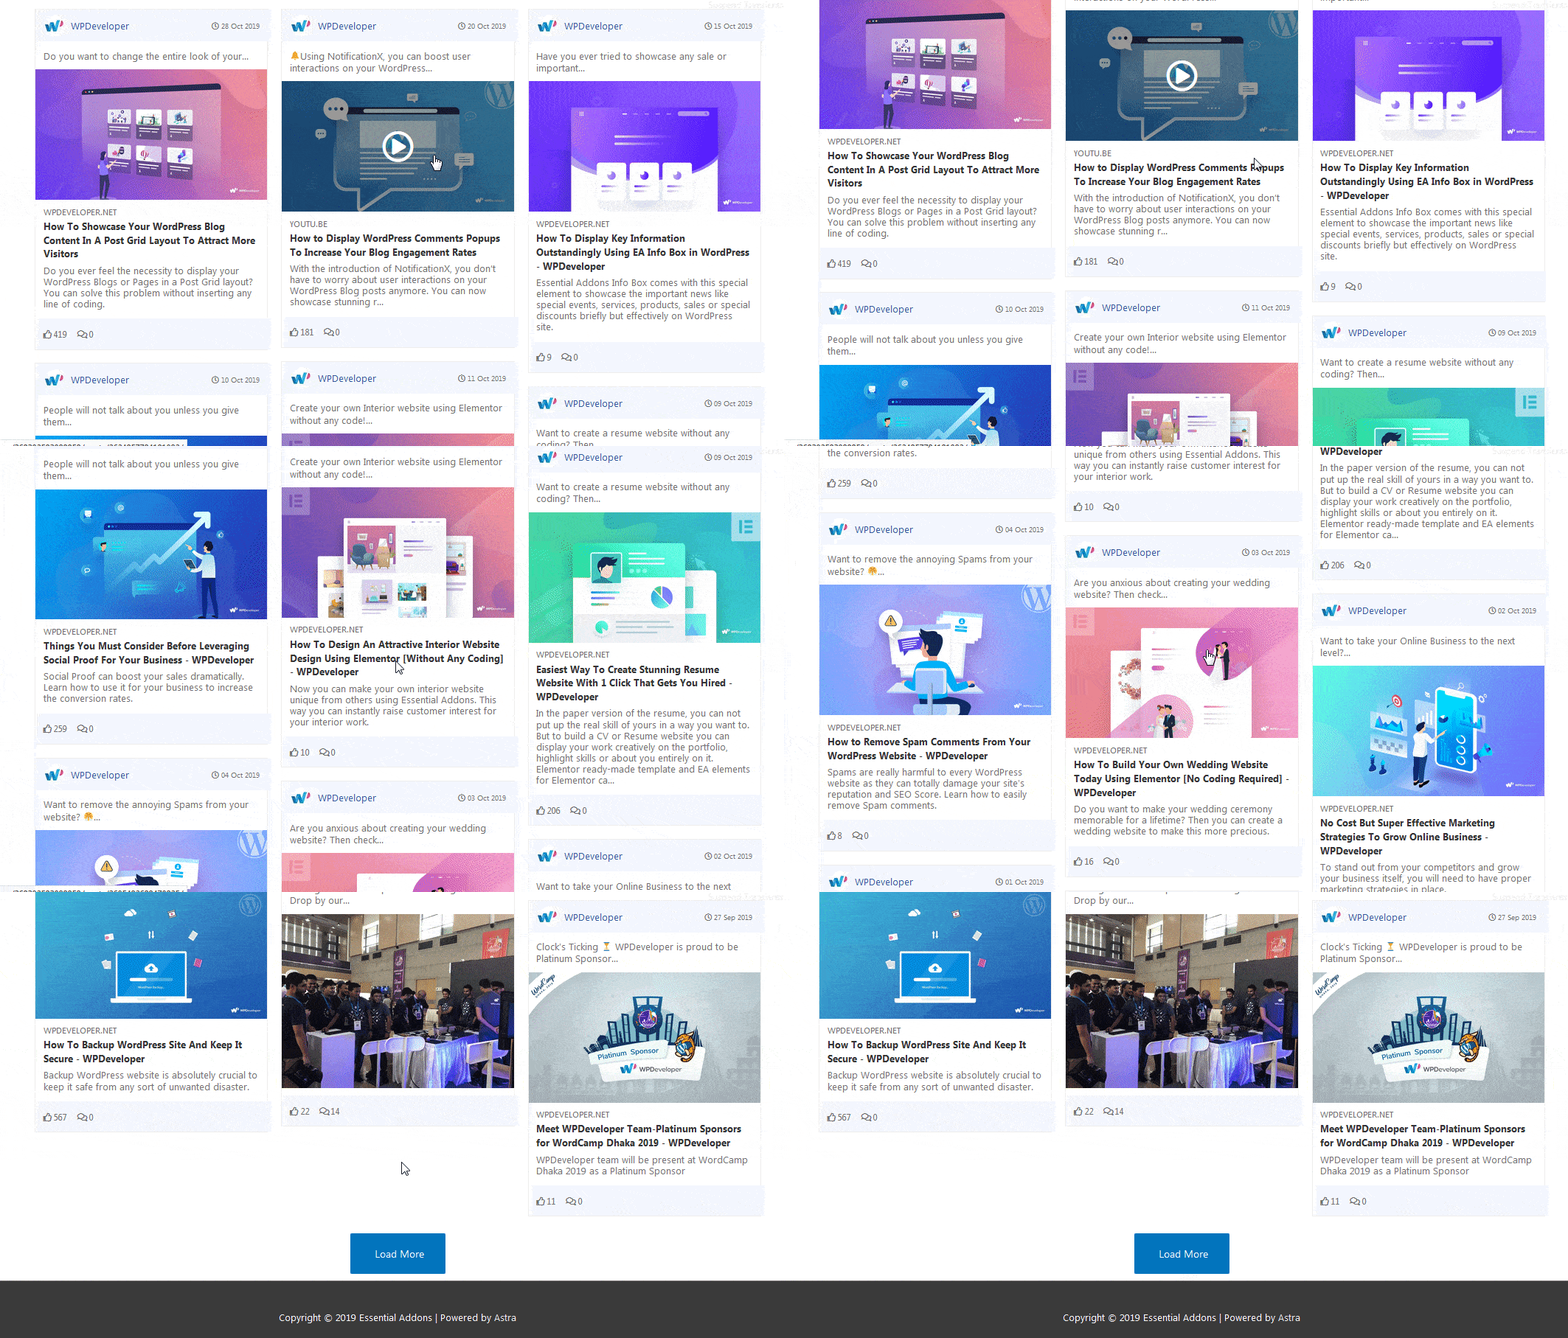
EA Facebook Feed displays your Facebook postings beautifully on your WordPress site. It gives you complete control over personalizing the custom Facebook Feed and making it pleasant to your website visitors.
Step 1: Create A New App ID
First of all, log in to your Facebook profile and go to your Facebook Developers Account. Afterward, click on the ‘My Apps’ option as shown below.

This will take you to a different page. To build a new app in Meta Developers, click the ‘Create App‘ button. A window will open asking you to indicate what you want your app to perform. Simply select ‘None‘ and go to the next stage by selecting ‘Next‘.

Following that, you will be asked to name your app in the ‘Display Name‘ form and provide your app’s email address in the ‘App Contact Email‘ field. After that, click the ‘Create App‘ option. You may be asked to do a short security check.

If you follow these instructions, you will have successfully created an app for Meta Developers. The access token for your app must then be generated.
Step 2: Generate Access Token Page
After you finish creating your app, you will be sent to the Dashboard page. Navigate to the Graph API Explorer page by selecting ‘Tools‘ from the Menu.

You will now be sent to a new page. Select the app you just generated from the ‘Facebook App‘ drop-down menu.
Now, select the ‘Get Page Access Token‘ option from the ‘App Token’ drop-down menu.

Simply carry on using your profile. After that, select the page from which you want to recover your Posts and click the ‘Next‘ button.

When you have completed all of the above procedures, your Page will be successfully linked to your Facebook account. Following that, you must configure some permissions for your app. You can give these permissions by selecting one of the options shown below. Make sure to include the permissions specified in this list.

You will now click the ‘Generate Access Token‘ button and repeat the process. Your app’s permissions will be successfully added.
Don’t forget to extend the expiry date of your Facebook token so you may continue to use the EA Facebook Feed widget on your website. Follow the step-by-step instructions in our full documentation here.
Step 3: Collect Your Facebook Page ID
To get your Facebook Page ID, first, navigate to your Facebook page. After that, just copy the page URL from the URL bar.

Now, go to this website and just insert the URL of your Facebook Page. After that, click the ‘Find Numeric ID‘ option.

This is how to get your Facebook Page ID.

Step 4: Activate EA Facebook Feed
To use this Essential Addons element, navigate to the ‘ELEMENTS‘ tab and choose the ‘EA Facebook Feed‘ element from the Search option. Simply drag and drop the ‘EA Facebook Feed’ widget into the ‘Drag widget here‘ or ‘+‘ box.

Step 5: Configure The Content Settings
You can modify the settings for EA Facebook Feed under the ‘Content‘ tab. Before you begin, ensure that you have obtained the appropriate API Keys for connecting to your Facebook account. To input the ‘Page ID‘ and ‘Access Token,’ simply repeat the preceding steps.

After you have obtained your Access Token and Page ID, just enter them in their relevant sections under the ‘Facebook Account Settings‘ section. Once the connection is established, you will be able to access your recent Facebook postings.

You can create your Custom Facebook Feed to your liking by following the basic instructions and a little extra tinkering.

Bonus Guide: Embed Facebook Live Videos On WordPress Website
The ideal option to allow your visitors to view live broadcasts straight from your website is to embed Facebook live videos into your website. It will retain your visitors’ attention. Moreover, embedding Facebook live broadcasts on your website will increase your visibility. Follow these articles to jumpstart your Facebook embed.

Have you found this blog helpful? Don’t forget to subscribe to our blog to read more tutorials and don’t forget to join our friendly Facebook community where you can connect with other web creators like yourself.


